Introduction
Every time I start working a new game, I use “GameBase” as a starting point. It uses the Haxe language and the Heaps.io engine.
GameBase offers a minimal set of classes and tools to get started quickly making your own game. It’s completely open source and easy to adapt to your needs. Oh, it’s also quite simple and not bloated with tons of useless classes or features.
Of course, you could also start from scratch, but that’s not something I’d recommend if your goal is to learn Haxe language + Heaps engine.

Getting GameBase
First thing first, here is the official GameBase repository on GitHub:
Installing Haxe + Heaps
I wrote a step-by-step tutorial on how to install the whole thing on Windows.
Please check it out if haven’t installed Heaps yet.
Installing dependencies
You’ll first need my deepnightLibs, which contain many useful classes I use in all my projects. To install it, just run:
haxelib git deepnightLibs https://github.com/deepnight/deepnightLibs.git
Also install CastleDB lib (a simple database for Haxe games, see castledb.org):
haxelib git castle https://github.com/ncannasse/castle.git
Getting the GameBase source code
Method A: template
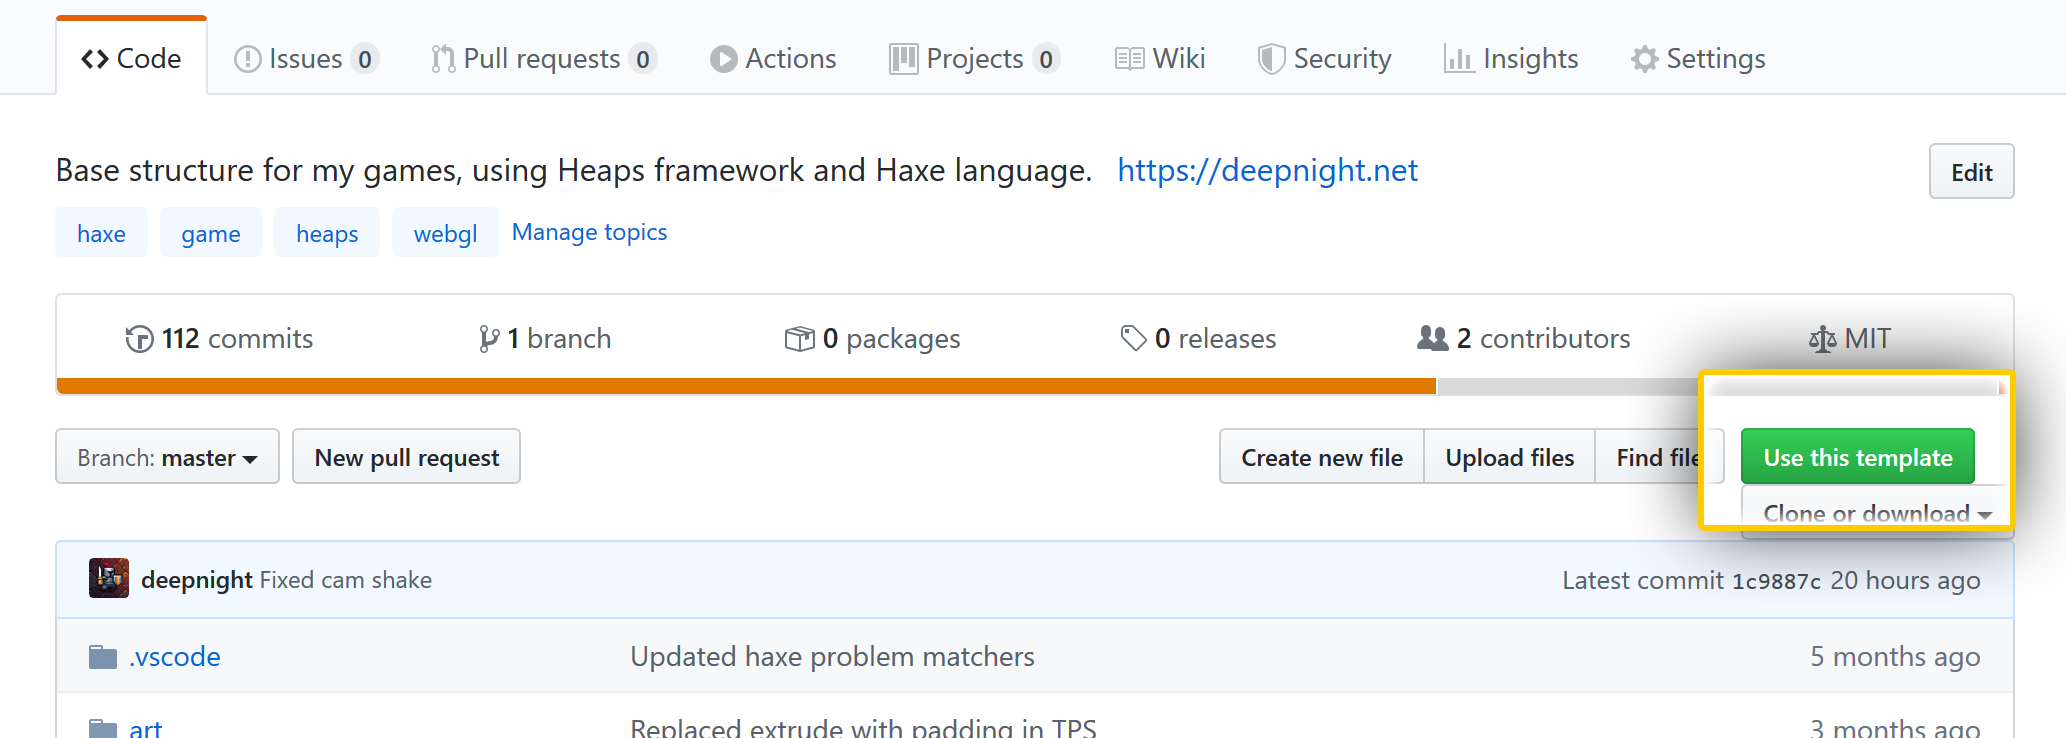
Just go to the repository on GitHub and click on the Use template button. Learn more about GitHub templates here.
Method B: fork
Go the following GitHub repository: https://github.com/deepnight/gameBase
Just fork this repo and clone it on your computer. Feel free to adapt/edit/copy for your own usage (see LICENSE).
Method C: adding an upstream remote
This method is mostly for my own usage, as GitHub doesn’t allow me to fork my own projects.
- Make a new repo on GitHub (WARNING: do not add any license or don’t commit anything in it for now)
- Clone it somewhere
- on a command line:
git remote add gameBase https://github.com/deepnight/gameBase.git

git pull gameBase master

git push origin master
- Or for the Advanced game base branch:
git remote add gameBase https://github.com/deepnight/gameBase.git

git pull gameBase advancedBase

git push origin master
Checking if it works
Compiling
If everything is properly installed, just run the following command right from the gameBase root folder:
haxe build.directx.hxml
This should generate a client.hl in your /bin folder.
Other platforms
You can build for other platforms:
- DirectX for HashLink VM:
haxe build.directx.hxml(recommended) - Javascript (WebGL):
haxe build.js.hxml - OpenGL for HashLink VM:
haxe build.opengl.hxml
Please note other platforms could be targeted by creating a corresponding HXML file (see: https://haxe.org/manual/target-details.html).
Running
To run the game, execute one of these commands:
For DirectX or OpenGL Hashlink:
hl bin\client.hl
For WebGL (javascript):
start run_js.html
You should see something like that:

Building and debugging from VScode (recommended)
From VScode, just run the “Debug: start debugging” command (press F5 by default, or check the VScode command line with CTRL-SHIFT-P).
This should run the default pre-configured HL Debug command which compiles & runs the HL DirectX version.
If you plan to debug WebGL (Javascript) content, you’ll need one of the following extensions for VScode:
- Firefox: Firefox debugger extension
- Chrome: Chrome debugger extension
Don’t forget to change the HXML used for code completion before starting to code:
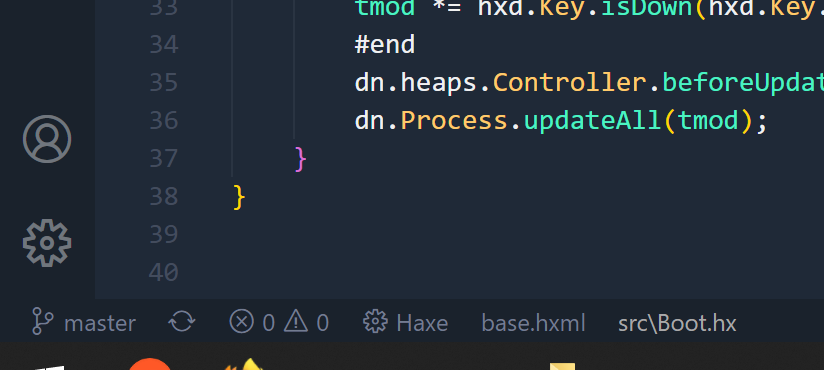
- Click on
_base.hxmlat the bottom of VS Code window. - Change it for whatever HXML you plan to use for building/testing your game (probably
build.dev.hxml, which is Direct X with added “debug” flag). - This HXML will then be used for code completion
Making a game!
The hero we need
We’re now ready to make the very first any game needs: adding a playable character.
First step: create a Hero.hx in /src/en/Hero.hx. The “en” folder is the package for “Entity”-based classes.
This is our hero:
package en;

class Hero extends Entity {
	public function new(x,y) {
		super(x,y);

		// Some default rendering for our character
		var g = new h2d.Graphics(spr);
		g.beginFill(0xff0000);
		g.drawRect(0,0,16,16);
	}
}
In the Game.hx, you can create an instance of your Hero at the end of the new() constructor.
class Game extends Process {
	// [...]

	public function new() {
		super(Main.ME);
		// [...]

		new en.Hero(5,5);
	}
Controller
We now need a little bit of control. If you have a gamepad, you can use it easily. You can also still use a standard keyboard too.
We need the dn.heaps.Controller class:
class Hero extends Entity {
	var ca : dn.heaps.Controller.ControllerAccess;

	public function new(x,y) {
		super(x,y);
		// [...]

		ca = Main.ME.controller.createAccess("hero"); // creates an instance of controller
	}

	override function dispose() { // call on garbage collection
		super.dispose();
		ca.dispose(); // release on destruction
	}

	override function update() { // the Entity main loop
		super.update();

		if( ca.leftDown() || ca.isKeyboardDown(hxd.Key.LEFT) )
			dx -= 0.1*tmod;

		if( ca.rightDown() || ca.isKeyboardDown(hxd.Key.RIGHT) )
			dx += 0.1*tmod;
	}
}
Testing
Build & run the game (F5 with VScode) and test it. Your red hero should move left/right on key presses or gamepad.

About “tmod”
tmod is a value connected to the duration of the frame, and more precisely, the time elapsed between two consecutive game frames.
- on 60 FPS, tmod is 1.0 (the “normal” value)
- on 30 FPS, tmod is 2.0
- on 120 FPS, tmod is 0.5
tmod can be used to adjust values that are FPS dependent, such as velocities or accelerations.
The idea is:
- if the game runs slower (ie. less than 60 FPS), all the movement increments should be higher, to compensate for the missing frames.
- if the game runs faster (ie. more than 60 FPS), all the movement increments should be smaller to acknowledge the extra frames.
See Delta time to learn more about this classic concept.
Working without “tmod”
The dn.Process class has a fixedUpdate() which runs (or at least tries to run) at a fixed lower FPS, usually 30 or 24 FPS (check the fixedUpdateFps variable). The FPS of these fixed updates is guaranteed, within the realms of possibility.
The Entity class also has a similar fixedUpdate() which runs at the same fixed FPS as the Game.
A classic approach is to do every gameplay related things, like physics, or velocities inside the “fixed” updates, and do everything else (rendering, particles etc.) in “real FPS” updates.
This keeps the gameplay code quite simple, without having to rely on the tmod/delta time values.
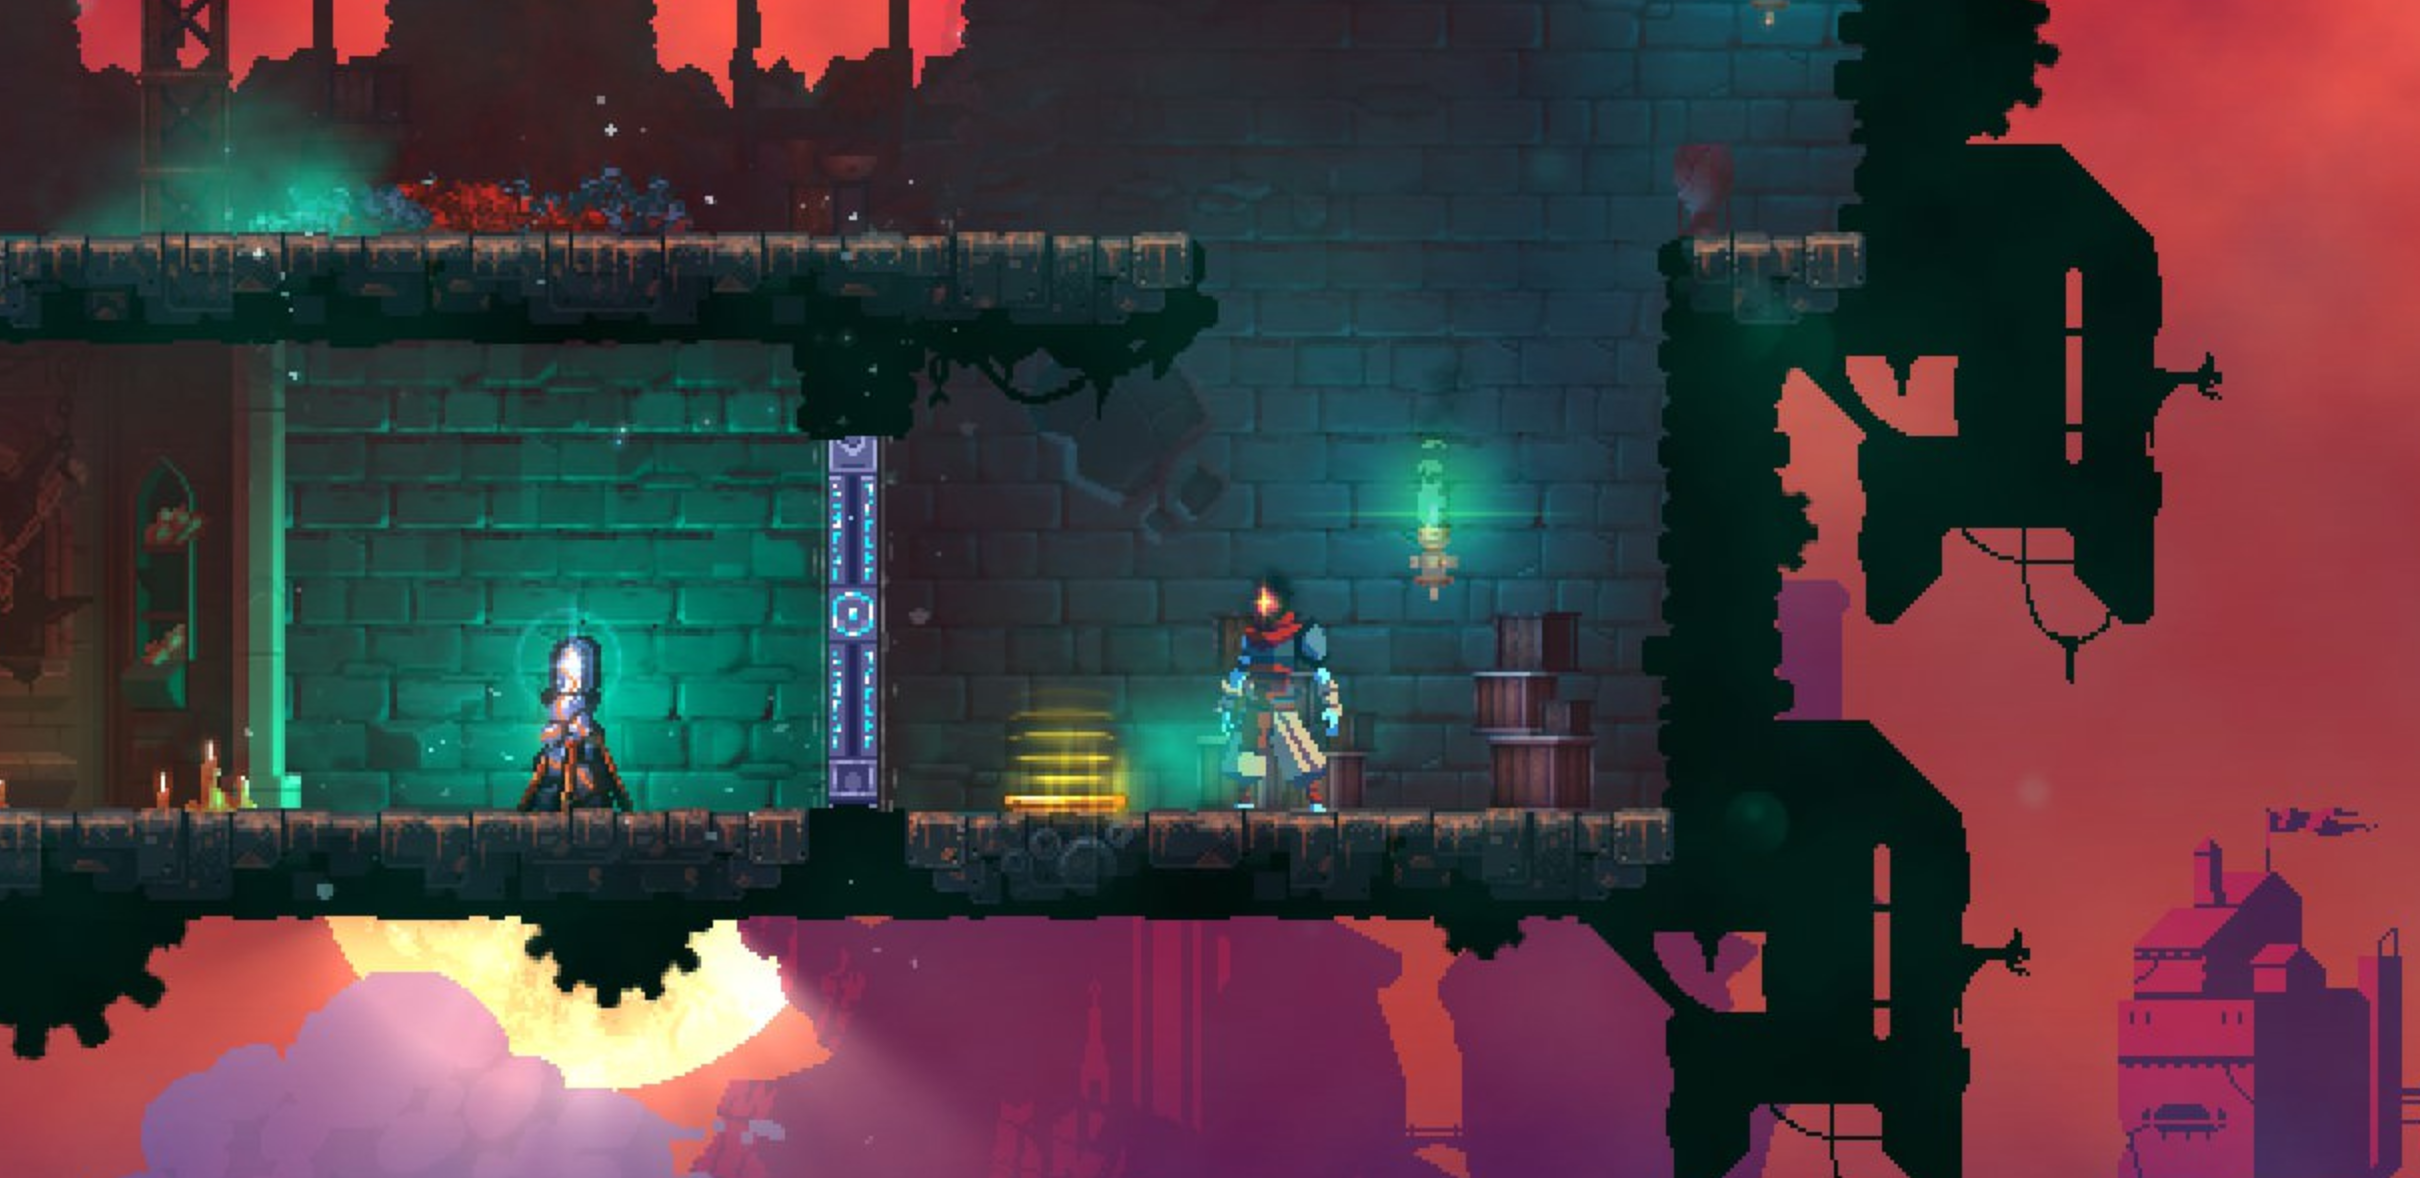
You might think it would be an issue to have your gameplay code in a 30 FPS loop instead of 60 FPS or more, but bear with me: no one will notice. Dead Cells, which is known for its fast-paced action & gameplay actually uses 30 FPS loops for the gameplay elements. The render is done at 60 FPS.
Important: all the controller related checks should happen inside the real FPS updates, because that’s the only way to catch a user input at the exact moment it happens. The fixed updates won’t catch these events, because these fixed updates don’t occur on every single frame.
Classes & API
Boot.hx: where everything starts
The first thing called in your code is in the Boot.hx method main(). From here, we create a Main, which creates a Game.
Loops
All the updates are called in the following order:
- Boot.hx has an
update()which takes care of low-level stuff. You shouldn’t do much here, unless you have very specific needs. - Main.hx has an
update()too, and is basically your global app main update. It also has apostUpdate()which happens after the update(). - Game.hx also has an
update(), apreUpdate(), afixedUpdate()and apostUpdate(). This is where your game related code will happen.
Note that Boot extends hxd.App which is the top-level app class in Heaps. I use a different class for Main and Game: dn.Process.
My dn.Process class takes care of the updates, and each Process can have children processes, support pausing, have preUpdates, fixedUpdates, postUpdates and few other useful things.
The philosophy with GameBase is quite simple: all your future Processes should be either children of Main (any section of your app which is not the game, like an intro screen), or Game (if it’s part of the actual game).
Important classes
All code files are in /src folder.
Main.hx: the main app loop, see theupdate()methodGame.hx: created every time a game is started, it also has anupdate()Entity.hx:: the most important thing after the Game. It’s the base class for everything that moves in the game (player, enemies, bullets, items etc.). Everything except particles (seeFx.hx). Read below for more explanations about the Entity class.Level.hx: your world, level, room or whatever is your environment. Some games might have none of these, or multiple instances, it’s up to you.Camera.hx: a basic camera which can optionally track an Entity (say, the player)Fx.hx: a simple particle systemLang.hx: a neat way to automatically extract your texts directly from your code to generate PO files compatible with the popular GetText translation ecosystem. Check the specific tutorial to see how it works.Const.hx: contains a set of constant values I use to tweak my game, like the standard FPS, your starting health points or stuff like that.Assets.hx: a single class to access assets like tilesets or sounds. All your assets (art, sound, other data files) that are meant to be loaded/used by the game should be put in the/resfolder. You can access them in your code using thehxd.Res.myAssetAPI.
Misc classes
import.hx: note the lowercase format of this file name, it allows to have global imports for every classes of your app (see: https://haxe.org/blog/importhx-intro/). Neat.tools/CPoint.hx: a simple Point class that supports grid-based coordinates.ui/Hud.hx: a process of Game which can be used for any HUD (head-up-display, aka. interface) for your game, like: gold, life, ammo etc.ui/Window.hx: a simple pop-up object.ui/Modal.hx: same as Window, except it pauses the game while it’s open.
The Entity class
Philosophy
Entity.hx uses the same “grid-based” logic as described in my Simple 2D engine article.
Please note that it’s totally up to you to write a very different Entity system to suit all your needs. Basically, all the 2D grid-based logic is here. Everything else in GameBase should fit any kind of game, be it a platformer, a match-3 puzzle or an hidden object.
Features
- Loops: preUpdate, update, fixedUpdate and postUpdate
- Safe disposal mechanic: just call the
destroy()of an Entity to mark it as destroyed. It won’t be destroyed instantly, but only at the end of the current frame (theonDispose()is then automatically called), to avoid any null value in the course of the loops. - Listing: access Entity.ALL static array for a dynamic list of all existing entities. Note that some might be flagged as “destroyed” (see previous point).
- Coordinates: each entity uses a grid-based coordinate system.
cx,cyare the grid coordinates, whilexr,yrare the position inside a single cell. For example, cx=5 and xr=0.5 means “in column 5, at 50% of the cell“. More explanations about this approach in my Simple 2D engine article. - Velocities:
dx,dyare the current x/y speeds of the entity (added to coordinates on each frame). They also use “grid-based” values. So having dx=0.5 means “moving 50% of a cell on each frame“.dx,dyare multiplied on each frame with frictions which slow them down (if friction<1). - Sprite: the visual representation of an Entity is the variable
spr. It’s adn.heaps.slib.HSpriteclass, which is a super-chargedh2d.Bitmap. Please note that the coordinates of this sprite are only updated during thepostUpdate(), it’s never updated nor manipulated outside of this loop. If you need the coordinates of the entity object, you should always refer tocx,cy+xr,yr.
Dear Sir,
I hope this message finds you well. I am currently looking for a new, systematic, and comprehensive tutorial to supplement my studies. While working through the provided article, I noticed that some of the source code is no longer applicable in the current version. For example, the `dn.heaps.Controller` class has been replaced by `dn.heaps.input`, and the `ControllerAccess<T>` has been modified to become a generic method. These changes have made it difficult for me to fully follow and complete the learning process based on the content provided on this page.
Thank you for your attention, and I would greatly appreciate any guidance or updated resources you could offer.
I have a problem, when I build & run code it opens default gameBase game